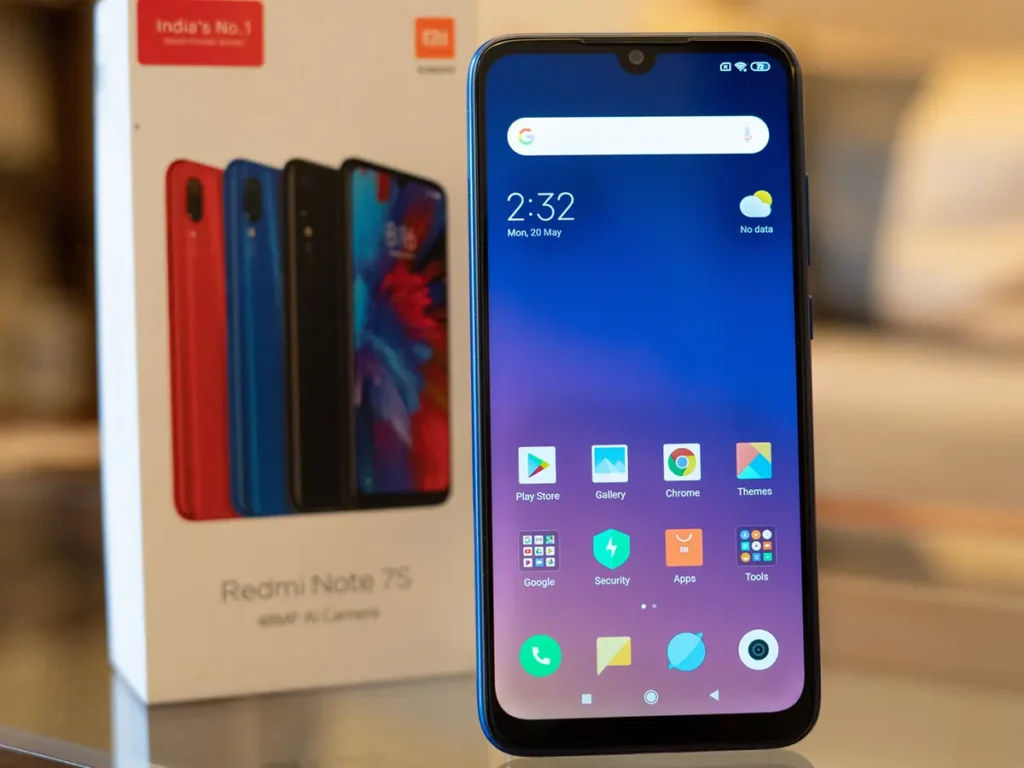
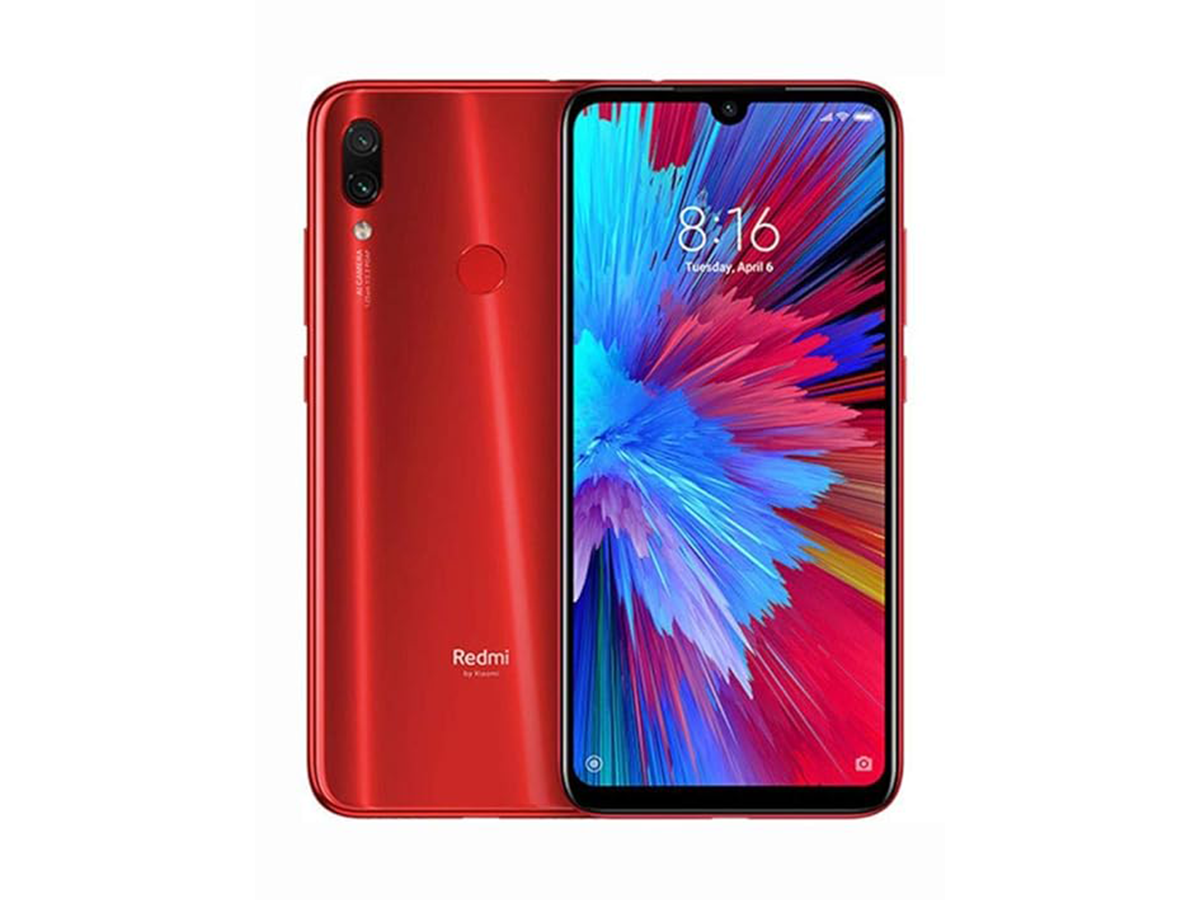
The Redmi Note 7s, launched in May 2019 by Xiaomi, is a budget-friendly smartphone known for its impressive 48-megapixel dual-camera setup, providing excellent photography at an affordable price. With a sleek design, a 6.3-inch Full HD+ display, and a Qualcomm Snapdragon 660 processor, it offers a compelling combination of style and performance. The 4,000 mAh battery ensures long-lasting usage, and Xiaomi’s MIUI, based on Android, provides a user-friendly interface. Overall, the Redmi Note 7s is a popular choice for those seeking a feature-rich smartphone on a budget.

| Network | GSM / HSPA / LTE |
| Chipset | Qualcomm Snapdragon 660 |
| Memory | 3GB/4GB RAM, 32GB/64GB internal storage |
| Primary Camera | Dual: 48 MP (f/1.8, 1/2″, 0.8µm, PDAF) + 5 MP (f/2.2, (depth) |
| Front Camera | 13 MP, f/2.0, 1.12µm |
| Display | 6.3 inches, IPS LCD, Full HD+ (1080 x 2340) |
| Size | 159.2 x 75.2 x 8.1 mm |
| Resolution | 1080 x 2340 pixels |
| OS | Android 9.0 (Pie), MIUI 11 |
| GPU | Adreno 512 |
| Battery | Non-removable Li-Po 4000 mAh battery |
How to Root Redmi Note 7s
What is Rooting?
The process of rooting involves gaining administrative or elevated privileges for a device. This is usually done on Android tablets or smartphones. Rooting’s primary purpose is to unlock system files and settings. This allows users to customize and control their devices more. This is an overview of the rooting procedure:
Unlocking Bootloader
The bootloader must be unlocked before rooting. This is done as a safety measure to prevent unauthorized modification. The method for unlocking the bootloader differs by device and manufacturer.
Installing Custom recovery (e.g. TWRP)
Flashing custom software on the device requires a custom recovery. Team Win Recovery Project is a popular custom recovery that allows users to install custom ROMs and make system-level changes.
Flashing Custom Recovery
After the bootloader has been unlocked, users are able to flash a custom recovery using tools such as fast boot. This custom recovery replaces stock recovery and adds additional features.
Installing Magisk or Superuser App
After installing the custom recovery, users may then flash either a Superuser application or Magisk. These applications manage root access to the device. These applications grant or deny root access to apps according to user preferences.
Rooting using the Superuser App
Superuser apps usually allow you to root your device with just one click. The app will ask the user whether to grant root access or not to certain apps.
Rooting with Magisk
Magisk provides a “systemless root,” which means that it does not alter the system partition. Magisk enables users to root devices while still passing SafetyNet checks on apps such as Google Pay. Magisk can be flashed through custom recovery.
Verifying root access
Users can download a root-checker app in the Google Play Store after the rooting procedure. This app will confirm whether root access has been successfully obtained.
Rooting has both benefits and risks. It gives users more control and customization but also invalidates the warranty of their device, poses security risks, and can lead to system instability.
The Pros and Cons of Rooting Redmi Note7S:
Pros:
Customization: The Redmi Note 7S can be customized beyond the limitations set by the manufacturer.
Improved performance: Users can improve performance with root access by removing bloatware and running custom kernels. This could increase speed and responsiveness.
Advanced Apps: Rooting allows you to install apps that need root permissions. This unlocks advanced features and functionality not available on devices without rooting.
Backup and Restore: Root access provides more backup and restore options, including the ability to back up app data and settings.
System updates: Rooting allows the installation of custom ROMs and the ability to enjoy the latest Android versions, even if official updates aren’t provided.
Ad blocking and privacy control: The rooting process allows for the installation of privacy-focused and ad-blocking apps. This gives users more control over advertising and enhances privacy.
Cons:
Void warranty: Rooting can void the warranty of many manufacturers. Users could lose their eligibility for official repairs or support.
Security risks: Rooting the device exposes it to security risks, as apps can gain access to system data. Untrusted applications can compromise device security.
Bricking risk: Incorrect rooting or mistakes can “brick” the device, rendering it unusable. This is especially true if you do not follow the correct process.
Issues and Updates: Problems can arise when rooted devices receive official system updates. Users may have to unroot their device, install the update, and then re-root it.
Instability: Installing custom ROMs or making system-level changes can cause crashes and system instability, which will affect the Redmi Note 7S’s overall reliability.
The loss of certain apps: Rooted devices may be unable to run certain apps, especially those that are related to banking or Security. This can limit access to some services.
Essential Preparations Before Rooting:
Let’s make sure your Redmi Note 7S device is ready before you begin rooting it.
- Backup Your Data: Make sure you have a copy of your important data to protect against data loss.
- Charge your Device: Make sure that you have enough battery power on your Redmi Note 7S to avoid interruptions while rooting.
Now we will see “How to Root Redmi Note 7s” in the following methods.
Method 1: Rooting your Redmi Note7S with TWRP
We’ll guide you through the process of rooting your Redmi 7S with TWRP:
Download the TWRP Image:
- Use the Redmi Note 7S web browser to visit the official TWRP site.
- Download the TWRP Image File specific to your device.
Unlock Bootloader HTML:
- Go to “Settings” and then “About Phone” to unlock developer options.
- To unlock developer options, tap on “MIUI Version seven times.”
- In “Developer options,” enable “OEM unlocking and USB debugging.”
Install the TWRP :
- Boot your Redmi Note 7S into fast boot mode.
- Connect your device to the computer and launch a command prompt.
- Flash TWRP using the following command: Fastboot flash recovery twrp.img.
Boot in TWRP:
- Use the hardware buttons to reboot your device in recovery mode or the following command: fastboot boot twrp.img.
Backup Your System:
- Perform a complete system backup in TWRP to ensure that you can restore to a stable condition if necessary.
Download Flash Magisk
- Download Magisk to your Redmi Note 7S.
- Flash the Magisk ZIP in TWRP to gain root access.
Reboot your device:
- Reboot the Redmi Note 7.
Method 2: Rooting your Redmi Note 7S using Magisk
Magisk will guide you through the process of rooting your Redmi 7S.
Download Magisk:
- Use your browser to visit the Magisk official website.
- Magisk ZIP files can be downloaded directly to the Redmi Note 7S.
Boot in Recovery Mode:
- Redmi Note 7S: Power off.
- Hold down the volume up and power buttons simultaneously until you see the Recovery Mode menu.
Flash Magisk Zip:
- Find and select “Install” in the recovery mode.
- Select the Magisk ZIP you downloaded.
- Confirm installation.
Reboot your device:
- Reboot your Redmi Note 7S after the installation.
Install Magisk Manager:
- Magisk Manager is available on GitHub.
Verify root access:
- Check the Magisk Manager application for a green checkmark. This indicates successful root access.
Troubleshooting tips and potential issues:
- Try rebooting your device into recovery mode and then reinstalling Magisk if you encounter booting problems after installing Magisk.
- For optimal compatibility, use the latest versions of Magisk and Magisk Manager.
Method 3: SuperSU Rooting for Redmi Note7S
We’ll guide you through the process of rooting your Redmi 7S with SuperSU:
Download SuperSU
- Download the latest SuperSU zip file to your Redmi Note 7S from the official SuperSU site or another reputable source.
Boot in Recovery Mode:
- Redmi Note 7S: Power off.
- Hold down the volume up and power buttons simultaneously until you see the Recovery Mode menu.
Flash superSU ZIP:
- Find and select “Install” in the recovery mode.
- Select the SuperSU ZIP you downloaded.
- Confirm installation.
Reboot your device:
- Reboot your Redmi Note 7S after the installation.
Download SuperSU App:
- SuperSU is available in the Google Play Store.
Verify root access:
- Check the status of rooting by opening the SuperSU application. If your device is successfully rooted, the app will let you know.
Method 4: Rooting your Redmi Note7S with KingoRoot (Without PC)
We’ll guide you through the process of rooting your Redmi 7S with KingoRoot:
Download KingoRoot
- Use the Redmi Note 7S web browser to visit the official KingoRoot site.
- Download KingoRoot APK to your device.
Install KingoRoot
- Install the KingoRoot APK on your Redmi Note 7S.
Enable Unknown sources:
- To enable “Unknown Sources” before installing KingoRoot, go to Settings, navigate to Security, and turn on the “Unknown Sources” option. This will allow you to install apps from other sources than the Google Play Store.
Launch KingoRoot :
- Open the KingoRoot application installed on your device.
Start the rooting process:
- Find and select the option in the KingoRoot application to begin the rooting procedure. It is usually just a simple one-click process.
Wait for Completion:
- KingoRoot will complete the process of rooting. This process may take several minutes.
Verify root access:
- Download and install the root checker from Google Play Store after completing. Open the app and verify that your Redmi Note 7S is successfully rooted.


Be First to Comment